So it’s been a month. Or longer even. You’ve already finished all the little projects you had lying around and you’ve spent hours watching tutorials, webinars, and baby elephant videos. Now things are starting to get dire. Now we really have to reach deep into our bag of tricks and find some new, unusual, and possibly ridiculous projects to try out. All with the added challenge of not being able to leave the house. Well, luckily for you I tried a couple and I’m here to share my results. Now, these may not be the most practical activities, but they are fun and I imagine we could all use a little bit of that right now.
The first things I tried was paper marbling using shaving cream. This one has been on my list for awhile, because who doesn’t love marbled paper and playing with shaving cream. I think this one would be super fun to do with kids and the clean up is quick and easy.
Basically, you just spray shaving cream in a container, drop in your color, then press some paper into it.
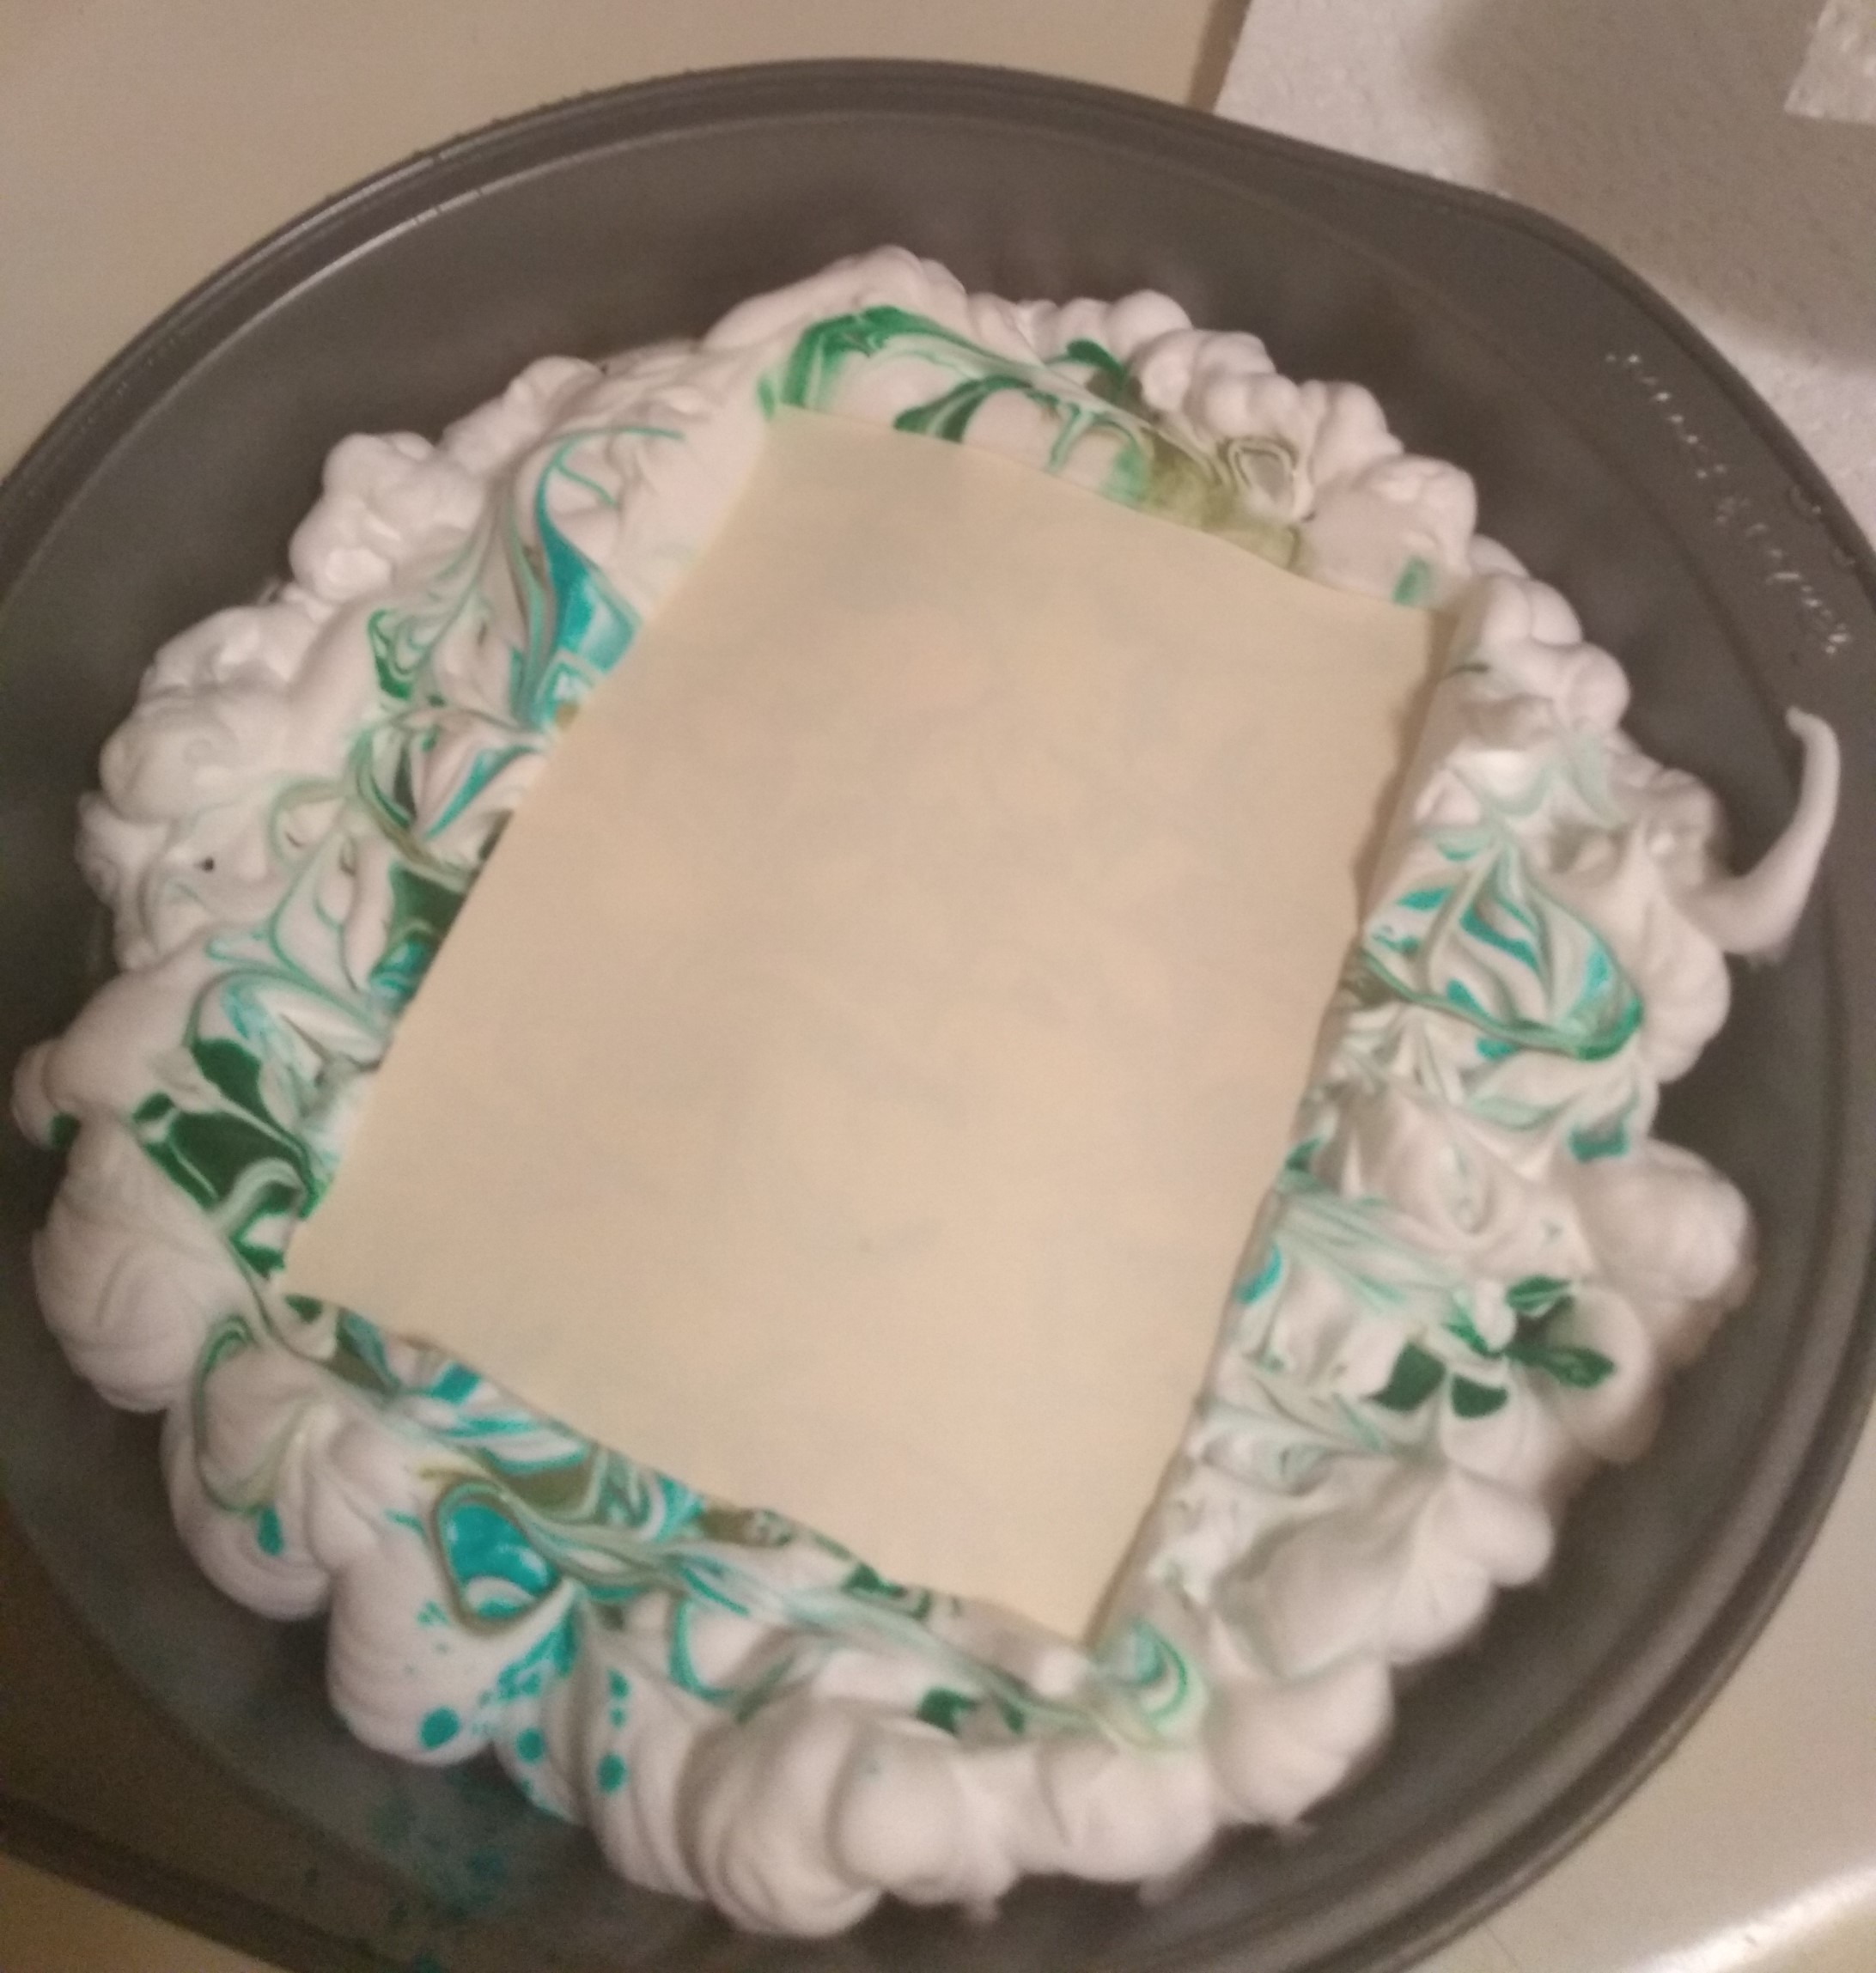
Let the shaving cream sit on the paper for about 5 minutes, then scrape it off with a squeegee or a bit of cardboard or something.

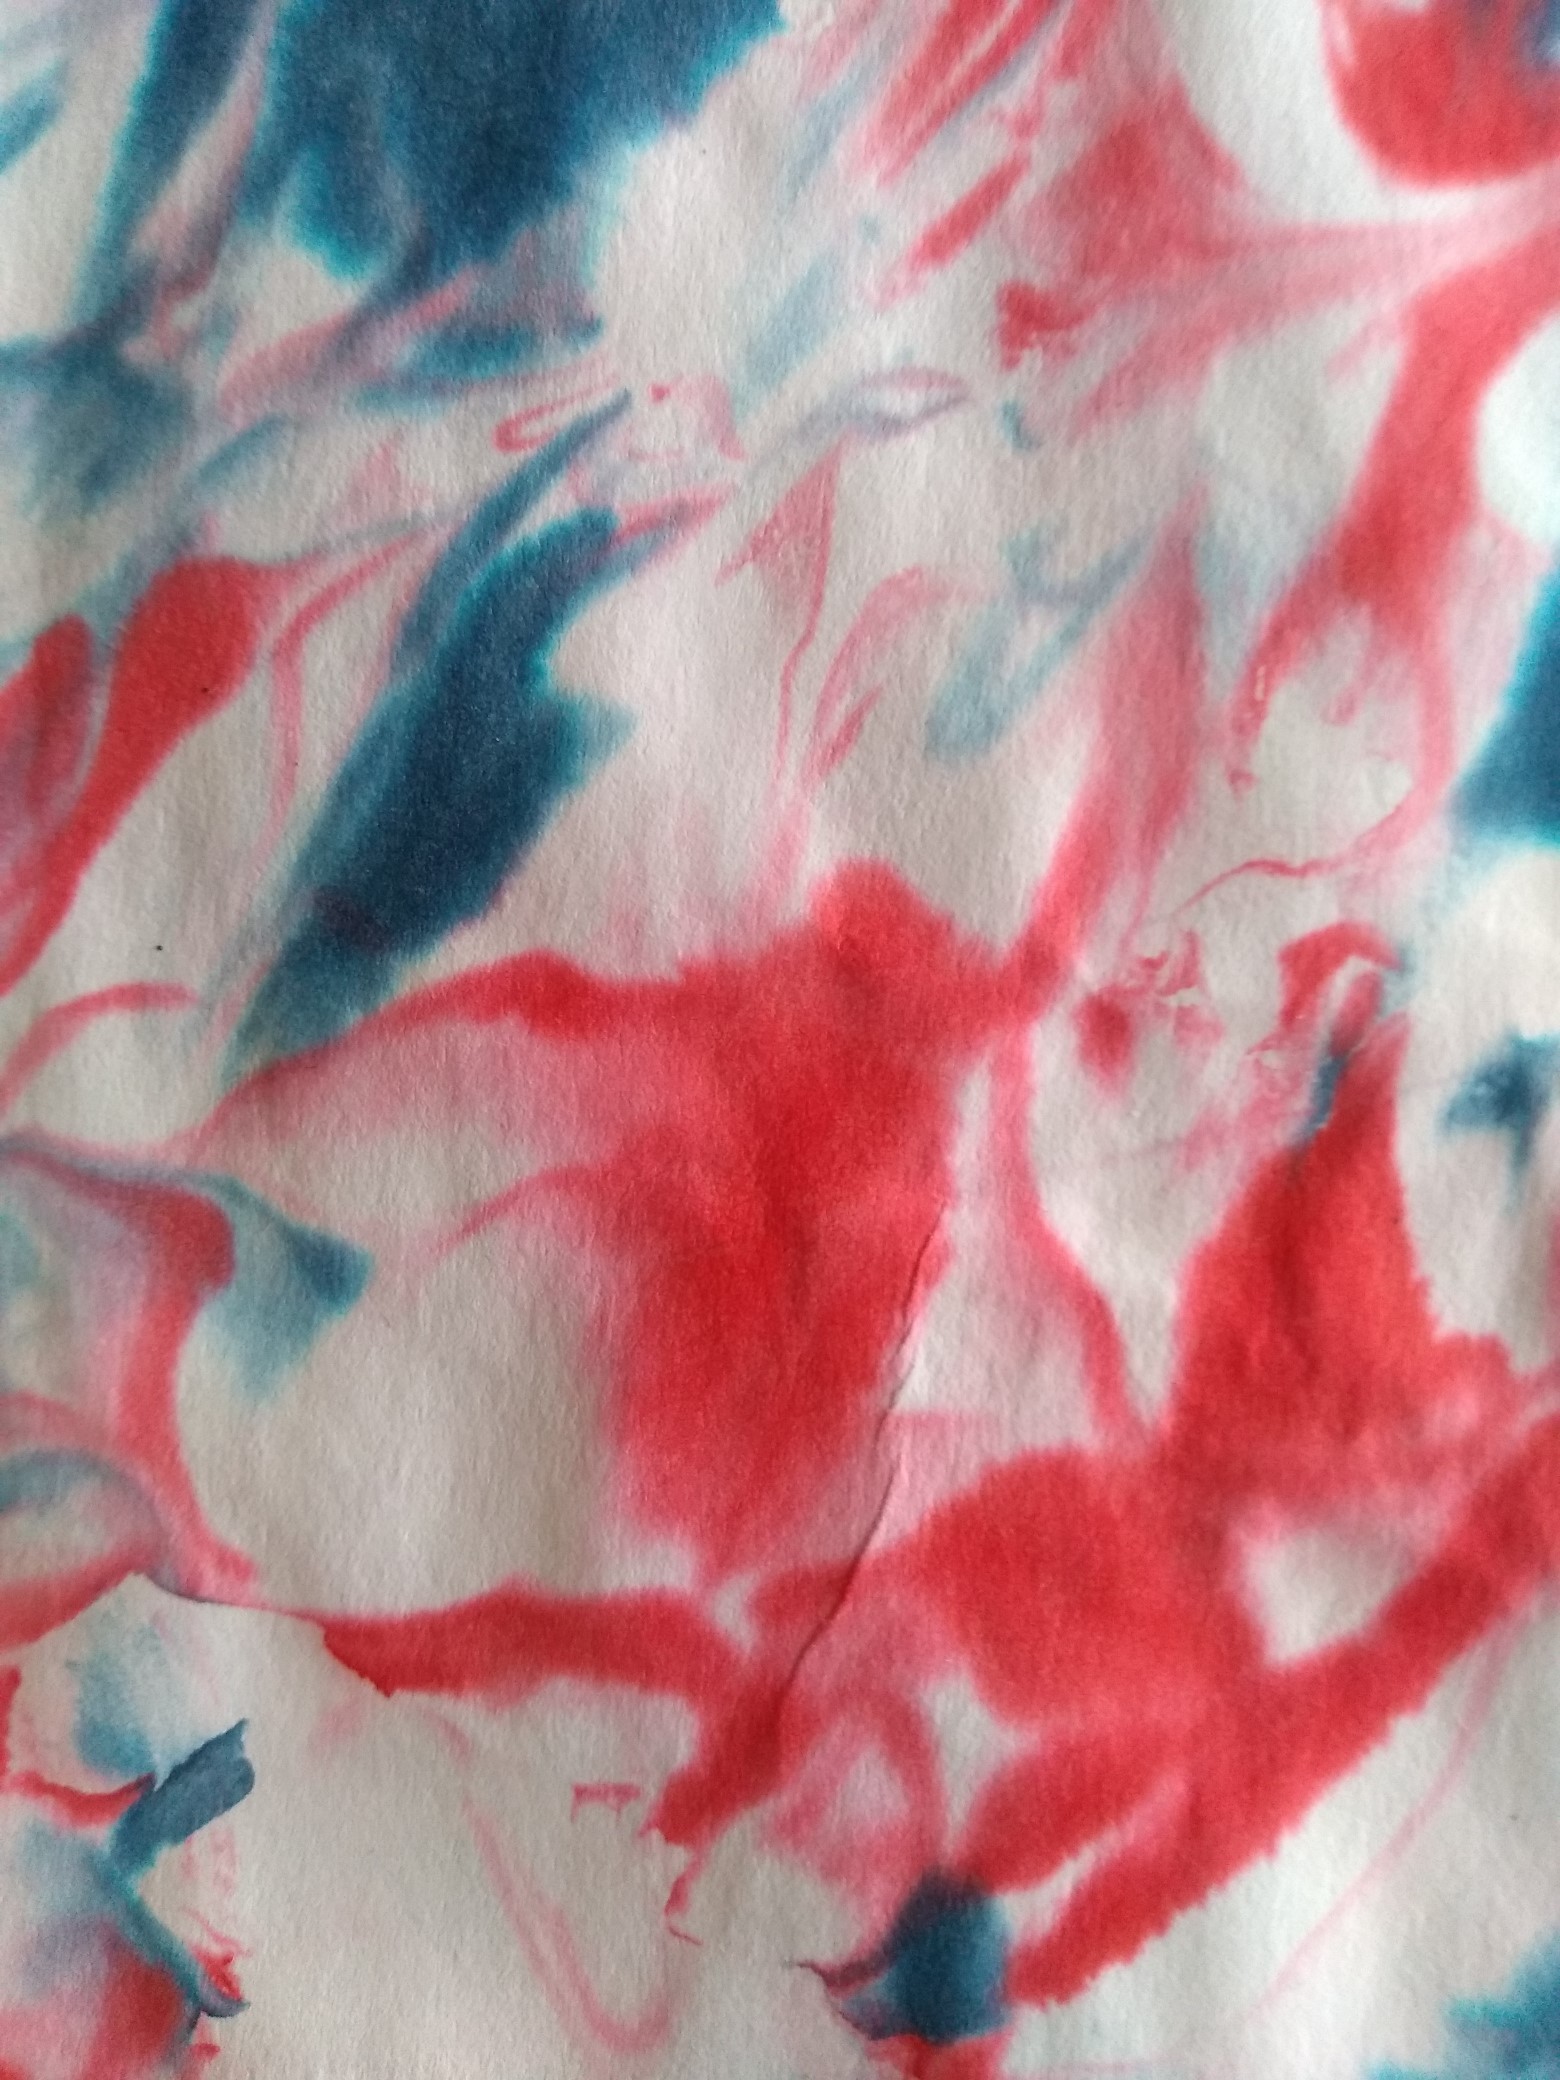
I played around with food coloring, acrylic paint, and glitter. The resulting paper is definitely not archival, but would work well for handmade cards or something like that.
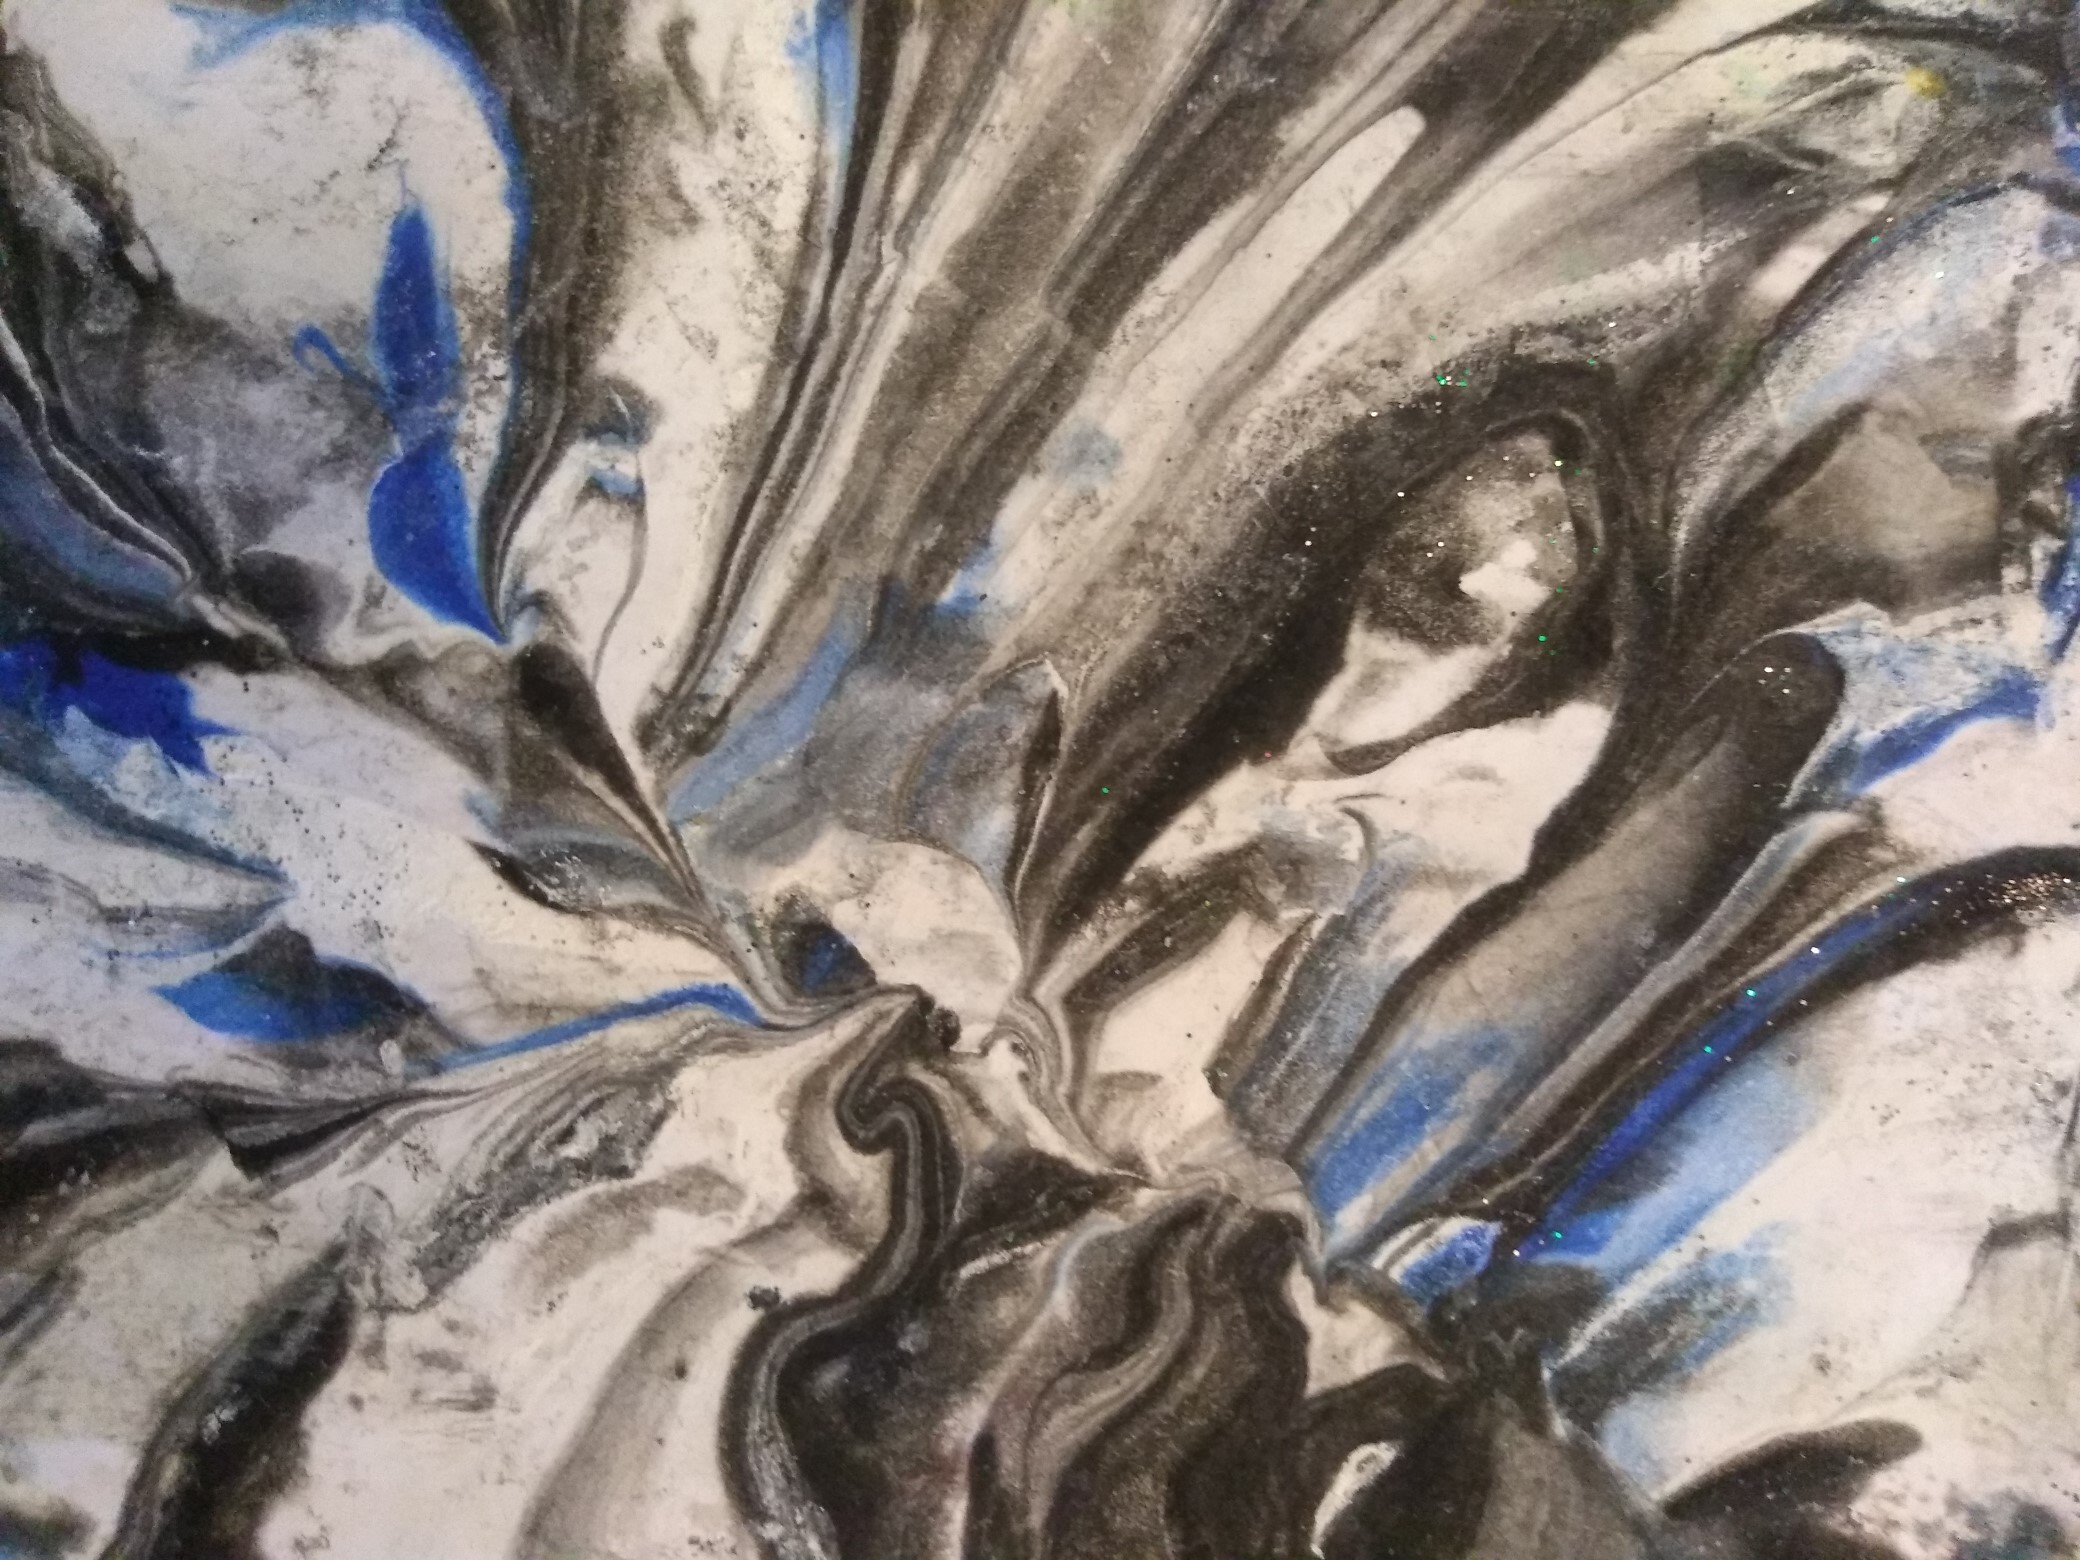
Just a note, this paper will smell like your great-uncle Carl forever and ever.
The next project I tried was making my own paper. Now, it might surprise you to learn that in my tiny apartment I possess very few of the materials that one would normally need to make paper; deckles, beaters, vats, dryers…I don’t have any of those things and I imagine most of you don’t either. So we’ll just have to make do. We’ll call it rustic! Artisanal! That makes it quaint and charming instead of a bit sad and pathetic.
The first thing you do is blend up some paper and water to make your pulp. Use whatever you have lying around! Experiment with different colors! Tear the paper up and soak it first though. It will make things a lot easier. You’ll also have to use a lot more water than you think.
Then form the sheets! I used a mesh strainer because it is literally the only screen-like thing I have in my house and I’m just going to pretend I always wanted to make circular paper.
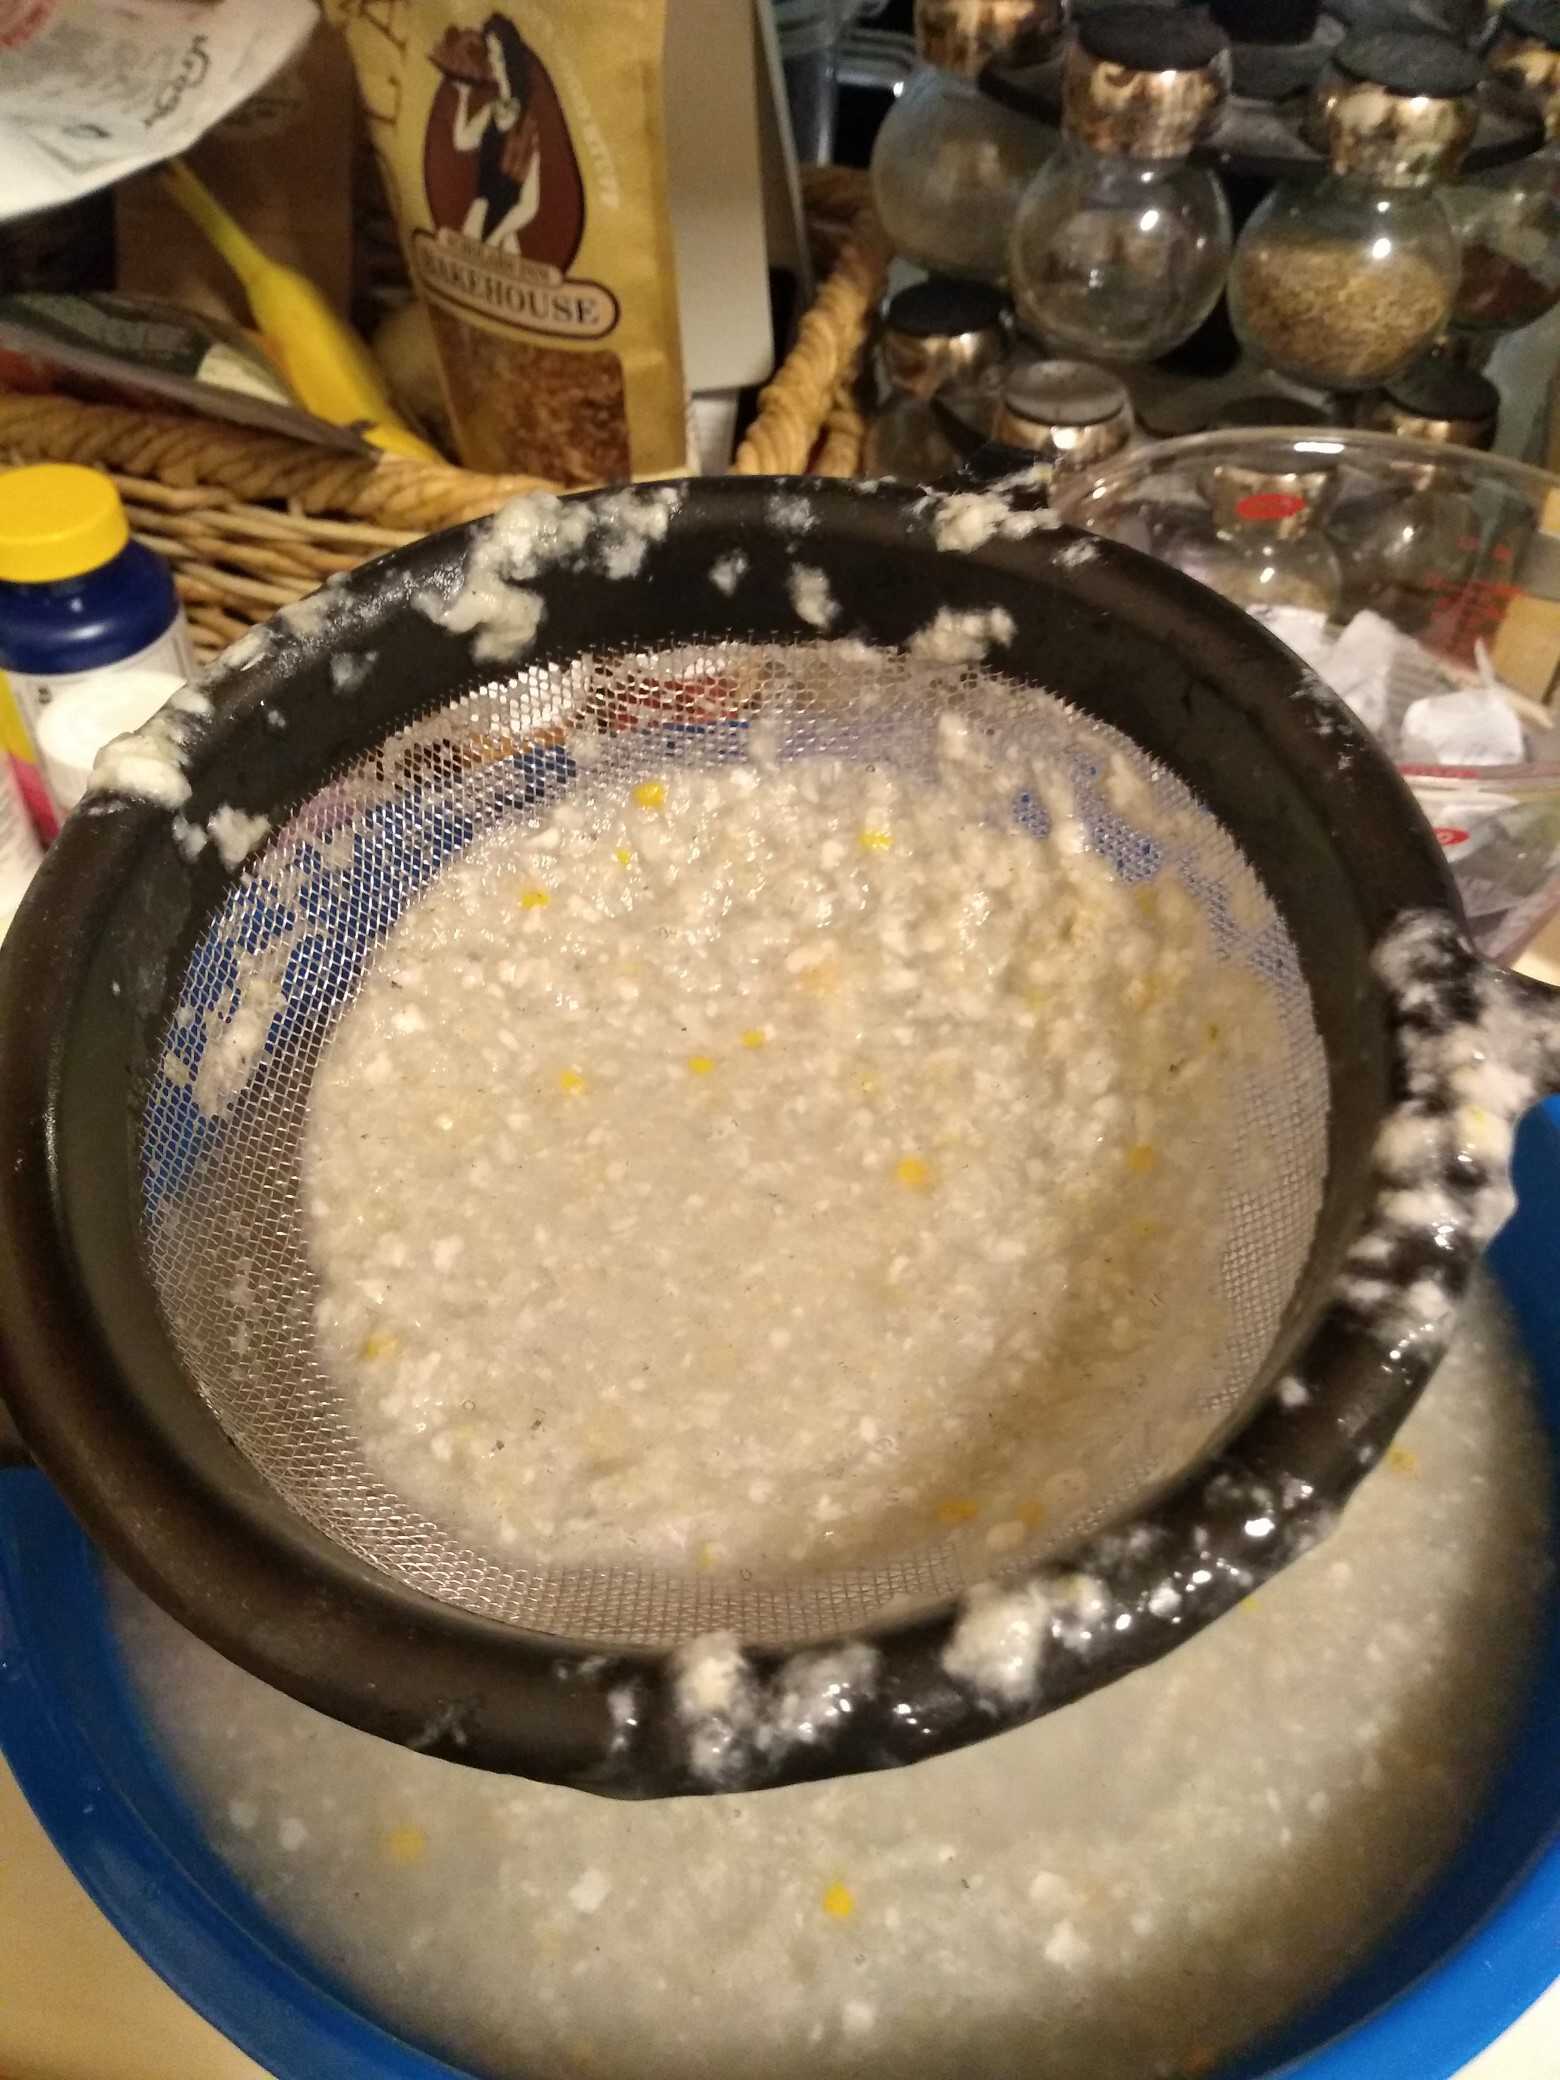
Shake the pulp around a little as it settles, but not too much. You may have to press some of the extra water out with a bit of damp paper towel.
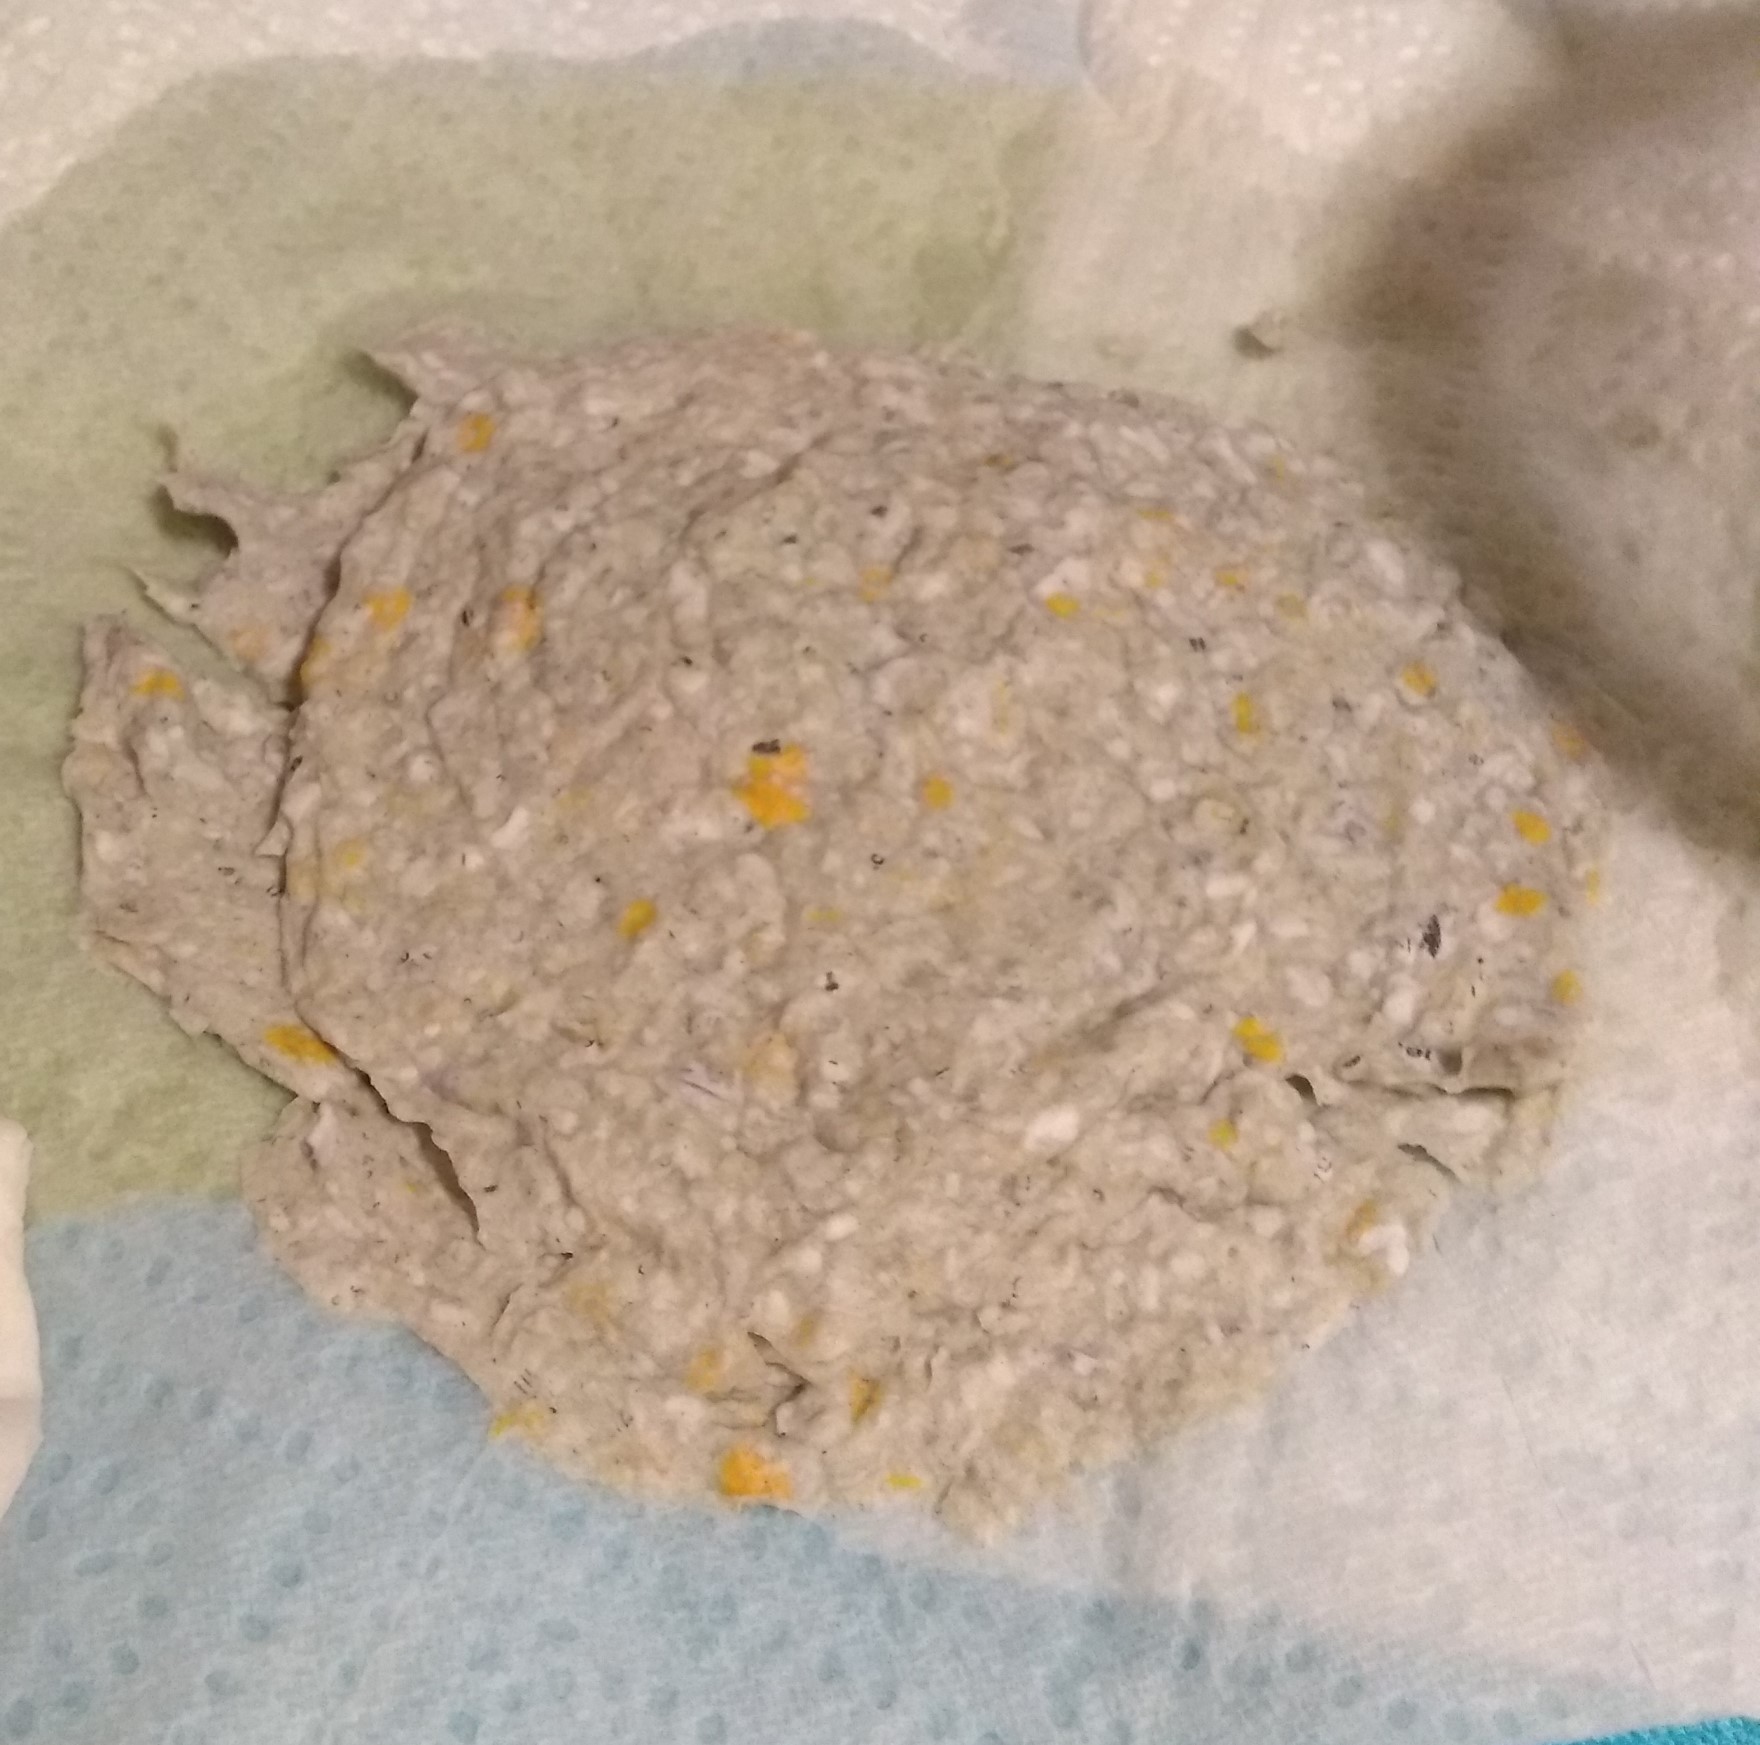
Then, flip your paper out onto a towel to dry. The way I did this was by putting my hand underneath the sheet of paper and giving the strainer a good tap so it fell out into my hand. The paper should be solid enough that it will stay (mostly) in one piece.
Honestly, this isn’t meant to be a strict tutorial and I’m sure this is slightly horrifying to actual, professional papermakers…sorry guys!
The paper will take quite a while to dry; mine took about two days, but I also wasn’t able to hang it, which would speed up the process. I also didn’t bother to press it. ¯\_(ツ)_/¯
So at the end of it all we’re left with some perfectly serviceable, handmade paper!
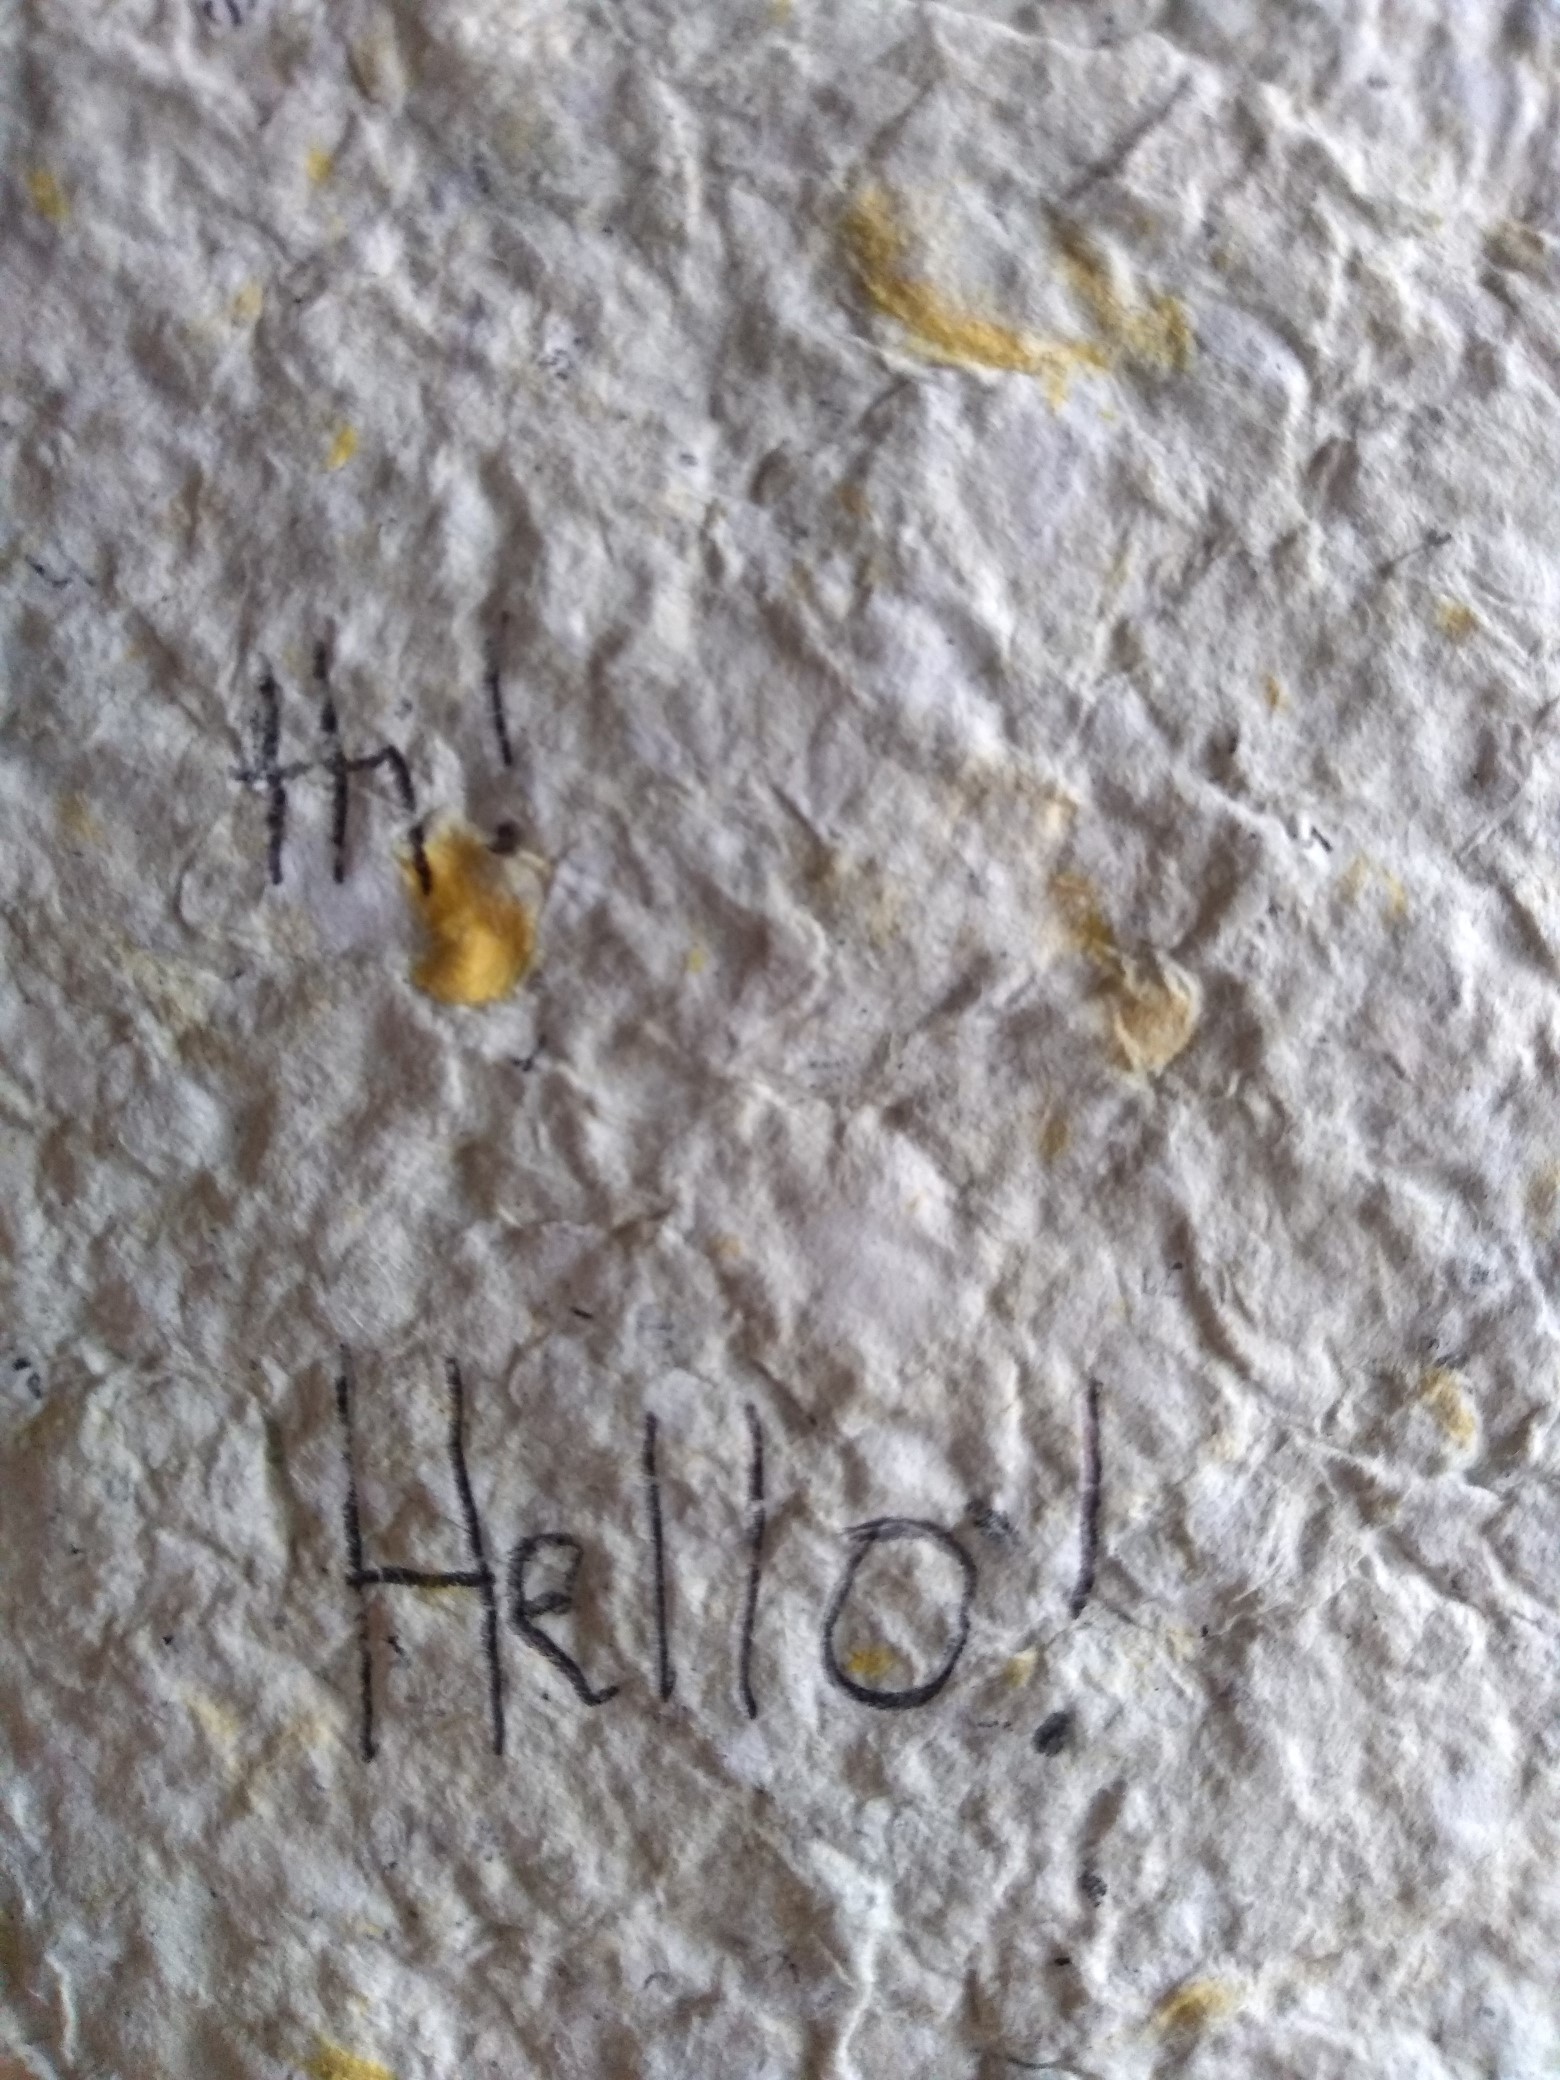
Sure, it’s a little wrinkly, but it’s paper! I think it would be quite nice for gift tags or other little decorative objects.
So, there’s two easy and fun projects for everyone out there to try! And both have endless possibilities for improvement (really…just endless…) and experimentation! Good luck out there and stay safe!
Leave a Reply