March 2020
Lately I’ve been spending some quality time in our guest room.

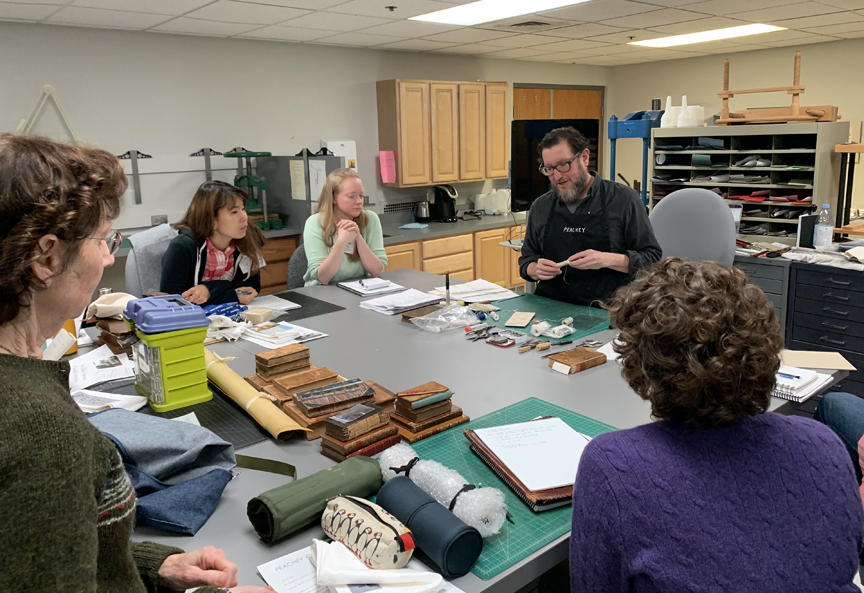
In my quiet refuge, between Zoom meetings, I’ve been continuing work I began in a class I attended in early March on the conservation of leather bindings. In the class, led by the inimitable Jeff Peachey and held at the University of Notre Dame, we practiced the latest thing, called social distancing, as we practiced conservation treatment techniques for leather-bound books.
Perhaps you noticed the snowshoes on the wall there in my guest room. Although we use them now to impart a ski lodge ambience, those are real, old-school snowshoes. My father-in-law wore them in the Vermont woods in the 1940s.
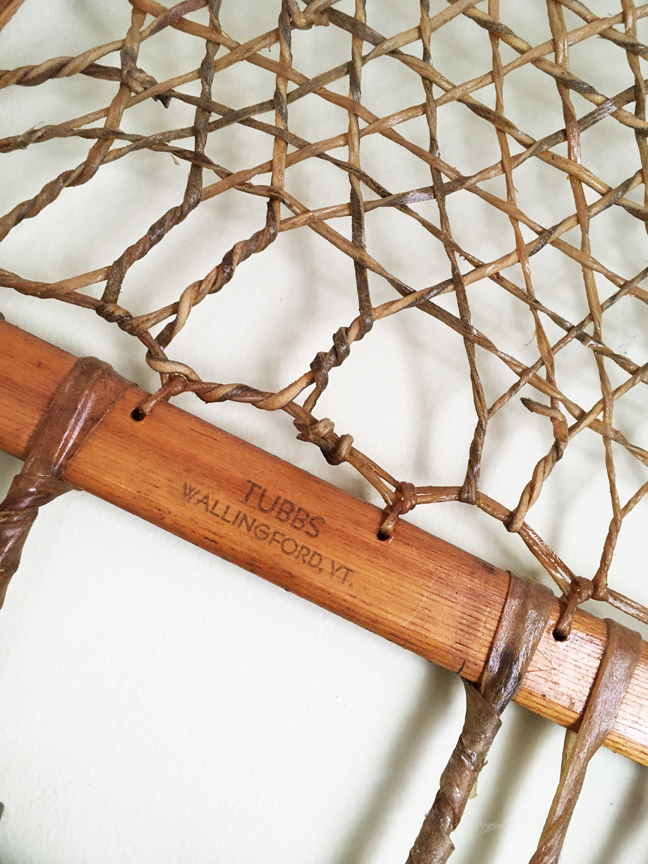
They are made from ash wood and rawhide. The rawhide is intact and unbelievably strong. Rawhide is similar to parchment, in that it is made from animal skins. But rawhide and parchment, unlike leather, are not tanned. Tanning is what makes it leather, but is also more or less where the trouble starts. Acids from tanning, plus atmospheric pollutants, lead to leather deterioration. And leather used for bookbinding is typically pared very thin, especially in the areas of stress, so that exacerbates the problem.
Hence the need to know how to repair leather bindings.
The most common way that leather bindings fail is the attachment of the cover boards to the text. The joints — the place where the covers meet the spine — are flexed every time the book is opened.
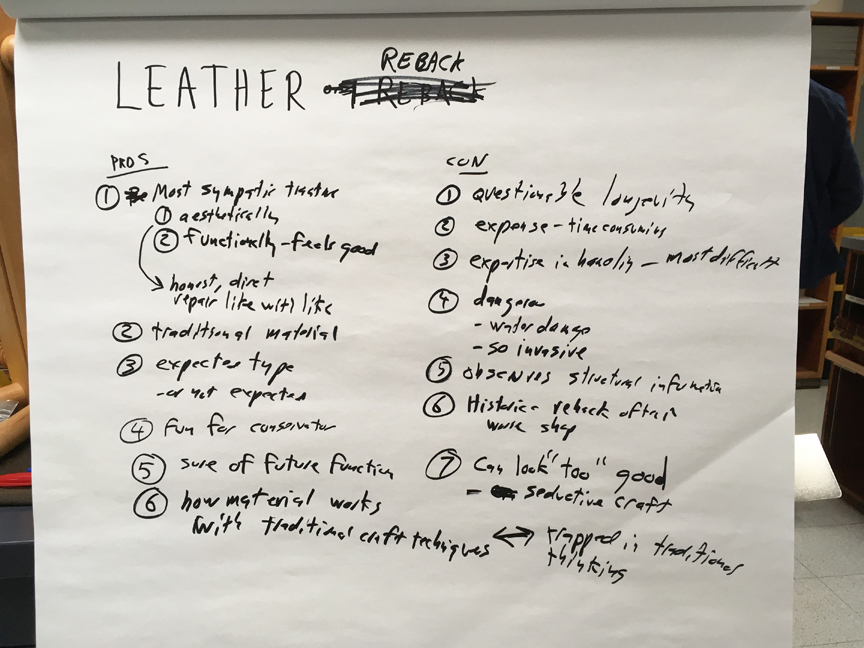
So in class we studied and practiced many ways to reattach boards, considering the pros and cons of each method, and what constitutes a good candidate for each.
Boards can be attached mechanically or adhesively with thread, cloth, paper, leather, or parchment. There are many variations and combinations among these methods, just as every book presents unique properties and problems to solve. Factors to weigh in selecting an appropriate attachment method include size; weight; condition of the paper, boards, leather, and other components; original construction; prior repairs; anticipated type and amount of use; the conservator’s skill level; invasiveness of the treatment; importance of the original binding; and time (and therefore cost).
Over the first two days we discussed and practiced minimally invasive reattachment methods, including joint tackets, thread and cord extensions, board splitting, and Japanese paper hinges. These techniques are also less time consuming than traditional, shall we say old school, repairs such as rebacking or complete rebinding.
The spine of a book is also called the back, so rebacking is the replacement of a missing, damaged, or deteriorated spine with new material. Books sometimes have both detached boards and a damaged or missing spine, so they need both board reattachment and rebacking. Also, some reattachment methods involve removal of an attached spine cover to gain access to the spine of the text block.
Traditionally, rebacking was done with new leather, and was a cheaper alternative to full rebinding. Nowadays, however, other materials are often used because of concerns about leather deterioration.
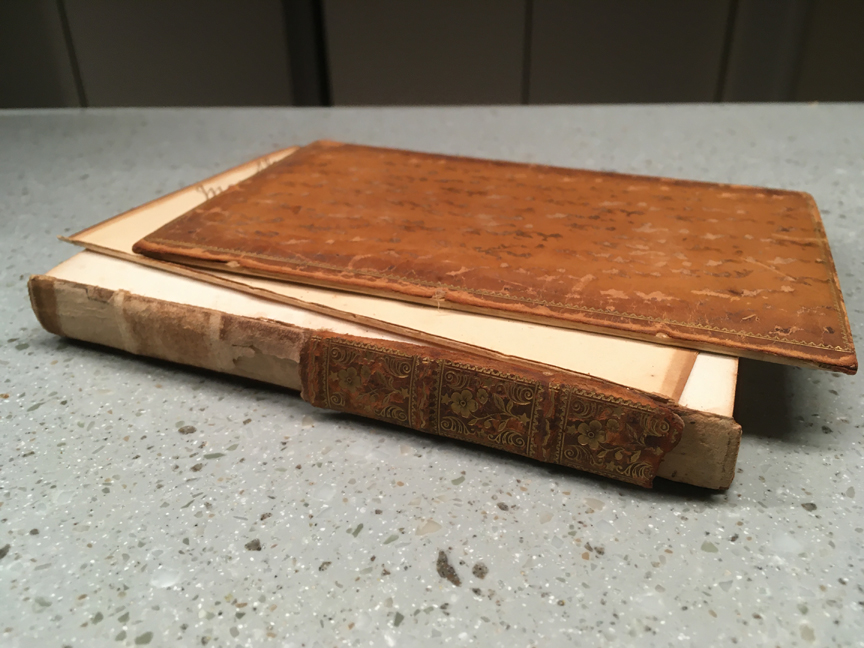
Here is a book I repaired a few months ago. Both boards were detached and the spine cover was missing. Instead of leather, I used a laminate of Japanese paper and cloth. The paper and cloth are pasted together, and the paper, which faces outside, is toned to match the leather. The cloth underneath provides additional strength.
Here the book has been rebacked with a toned paper-cloth laminate.
But sometimes rebacking with leather is appropriate, so it is an important skill to have. So on the third through fifth days, we worked on rebacking, starting with identifying the pros and cons.
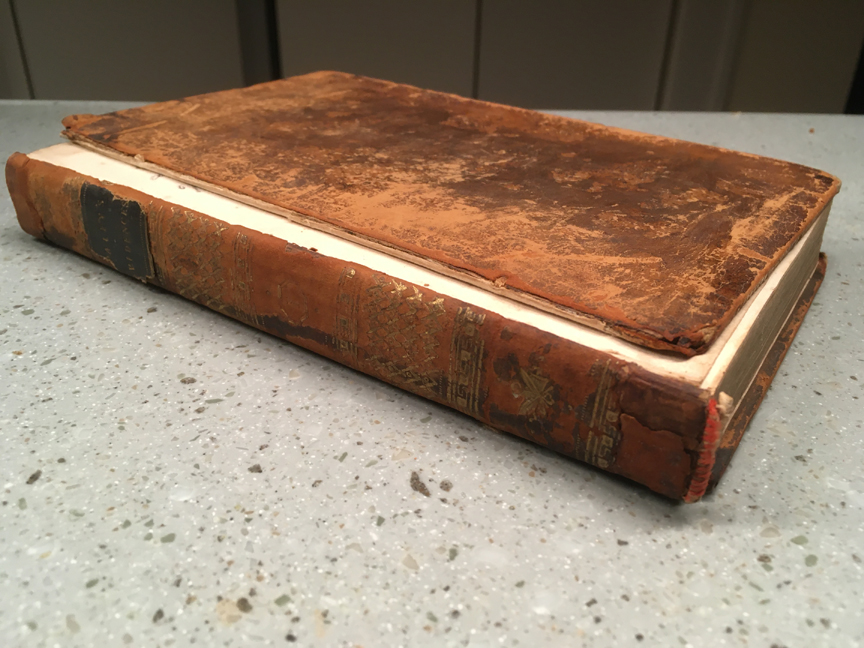
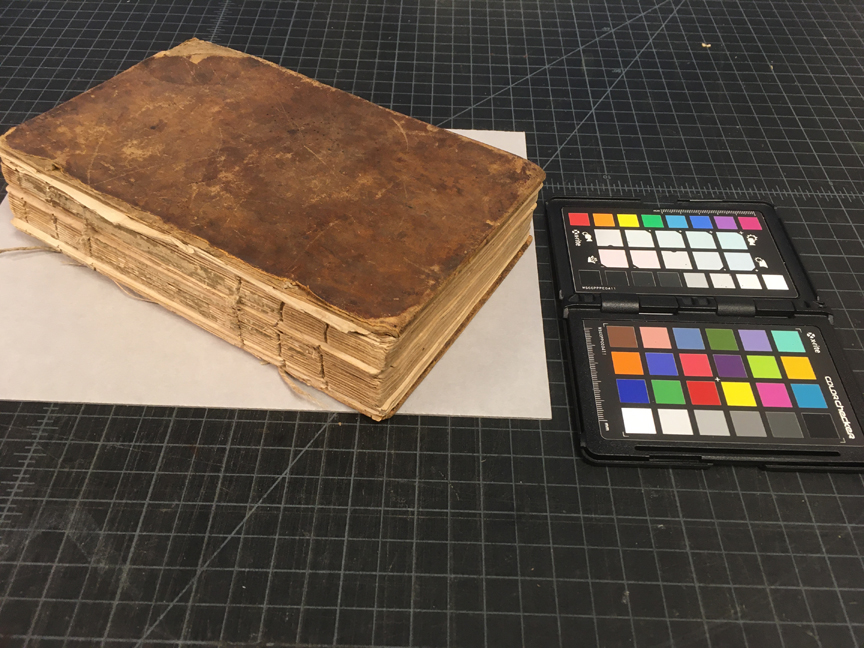
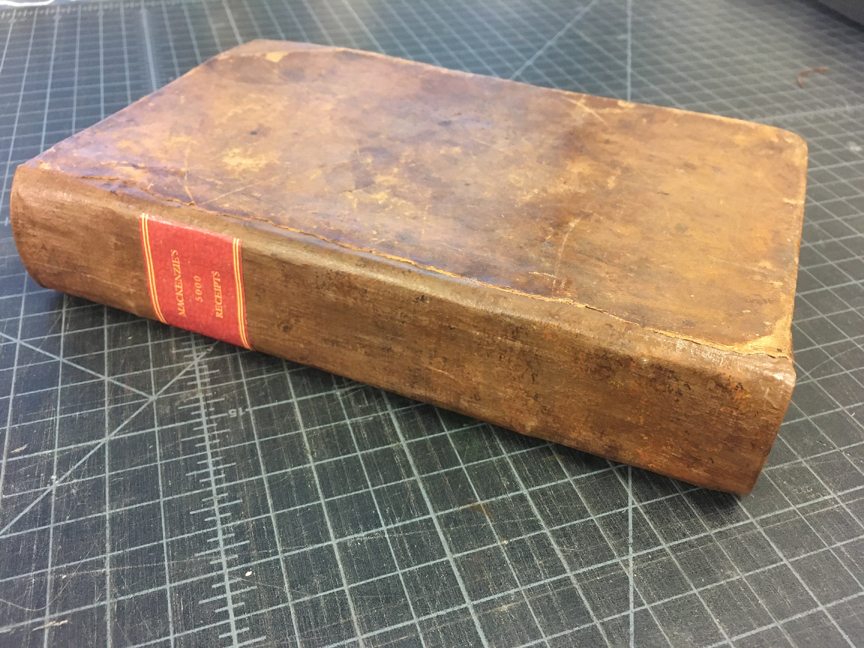
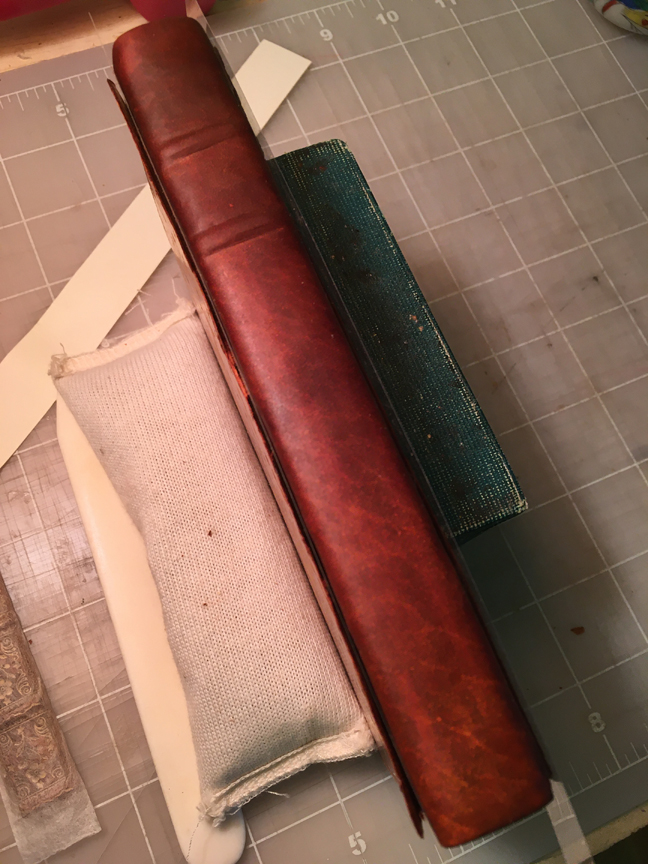
This is the little book I rebacked in leather. I started it in class, but had to finish it at home, having left a bit early the last day, times being what they are. Both boards were detached, and about half of the spine cover was missing. The thin leather has a smooth glossy surface, with the top layer flaking pretty badly in some areas. The spine covering was adhered over a hollow tube of paper attached to the book, and there are false raised bands under the spine covering.
Here a beveled cut has been made at a shallow angle along the length of the board edge, leaving a narrow strip of leather on the edge. The leather, which is thinnest at the edge of the beveled cut, is lifted off of the board from the cut line, but the narrow strip is left on. Later the new leather will fit under the lifted area and cover over the narrow strip.
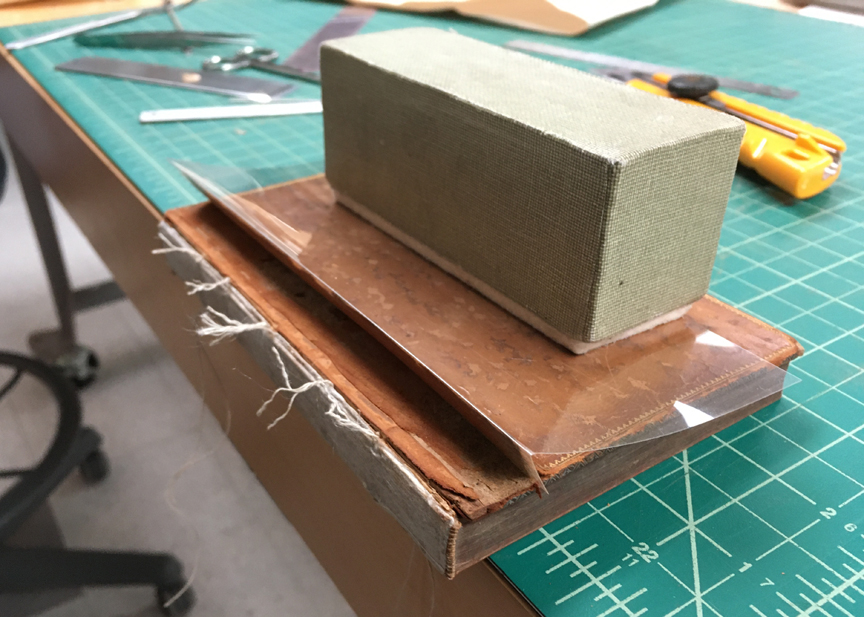
Here the lifted leather is held up out of the way with a piece of folded mylar. The thread extensions sewn in around the original cords have been unplied (twisted to separate the three strands of the thread) and will be glued under the lifted leather, forming the attachment of the boards to the text.
Now the boards have been attached with the threads and a new hollow tube is being made. The middle section of the paper has been glued to the spine, then the flaps will be glued to each other. Later the new leather spine piece will be pasted out, centered over the tube, and the extended edges will be inserted under the lifted leather on the boards.
We learned how to prepare new leather for use in book repair, including “boarding” to make it soft and pliable so it will shape and adhere well to the book, toning it to blend with the original leather, paring it thin in all the right places.
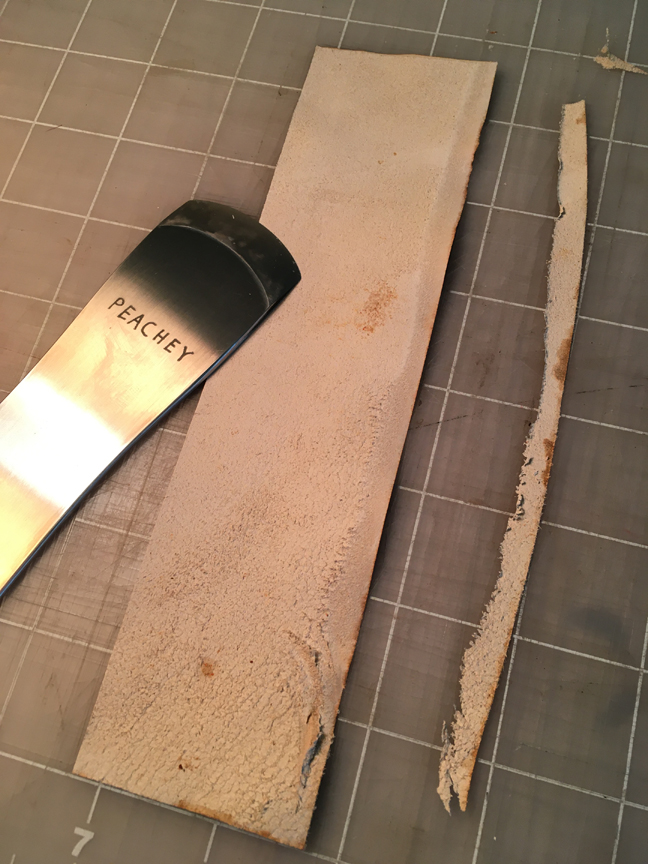
Here the piece of leather that will form the new spine is being pared. The first pass has been made along one long edge with a French-style paring knife.
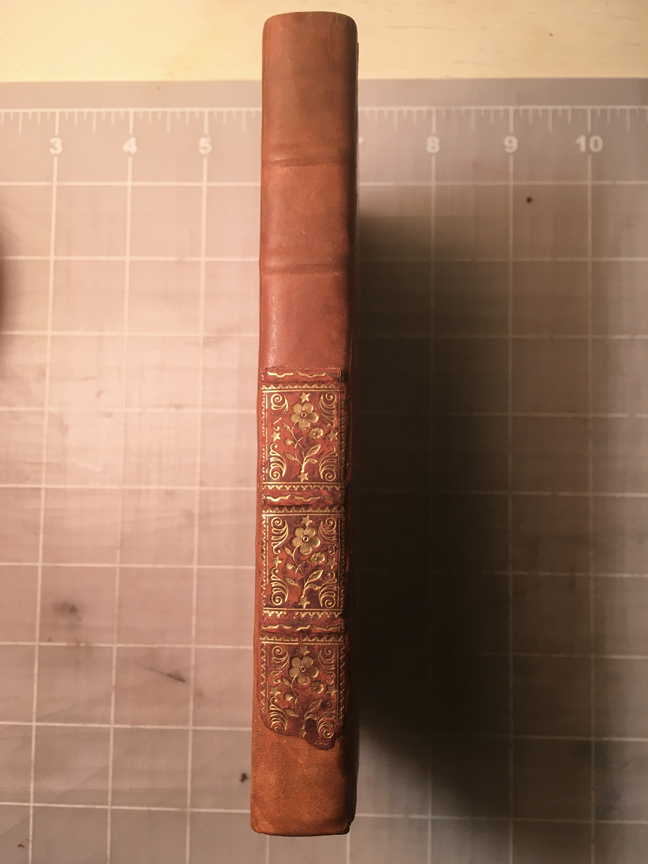
Here is the finished hollow tube with pieces of blotter glued on to create the look of raised bands. Three false bands are visible in the fragment of the original spine cover. The leather for the new spine is under the spine fragment, toned, trimmed, pared, and ready to prepare for attaching.
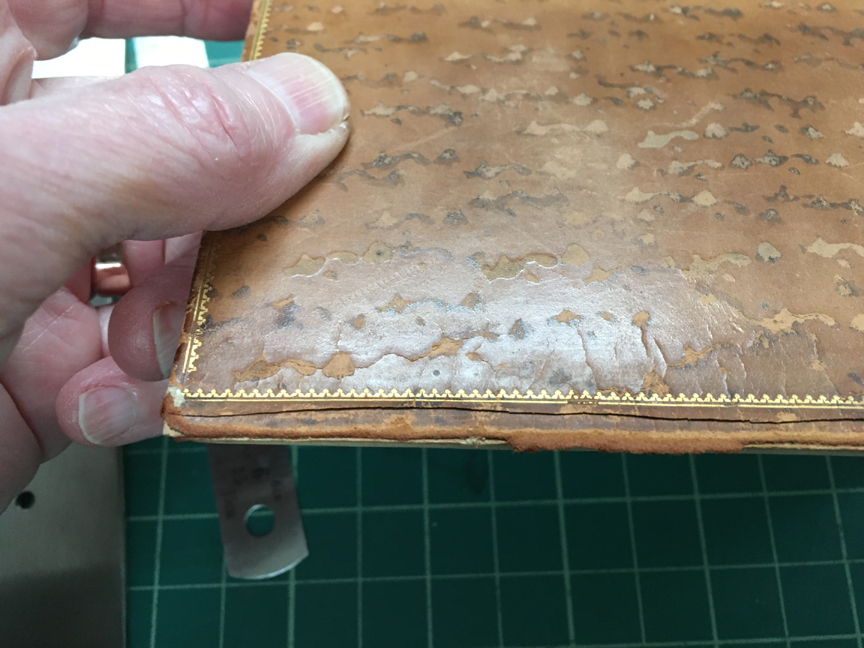
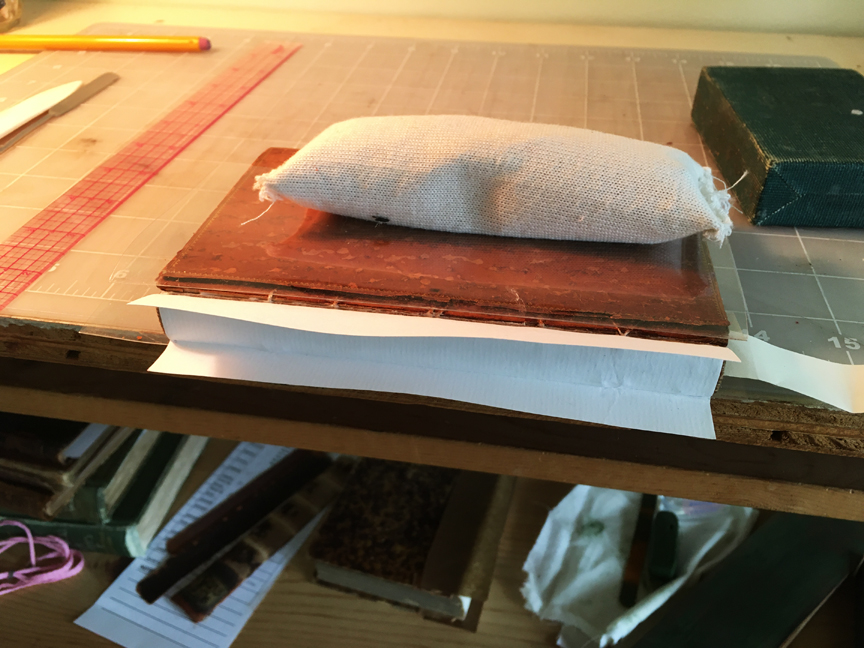
The new leather is wrapped in a damp cloth for a while, then thick paste is applied to the underside, left to sit, scraped off, pasted again, and scraped off. Then it is pasted again and put on the book. The leather darkens from the moisture, but lightens once dry. The softening helps with adhesion, shaping the leather around the bands, and getting the new leather under the lifted leather to be as flat to the boards as possible. While water is used to prepare the new leather, water on older leather is to be avoided at all costs (old leather can turn black permanently and become brittle) so the lifted areas of original leather are protected with the folded pieces of mylar.
Here the new leather has been pasted over the hollow tube and under the lifted leather on the boards.
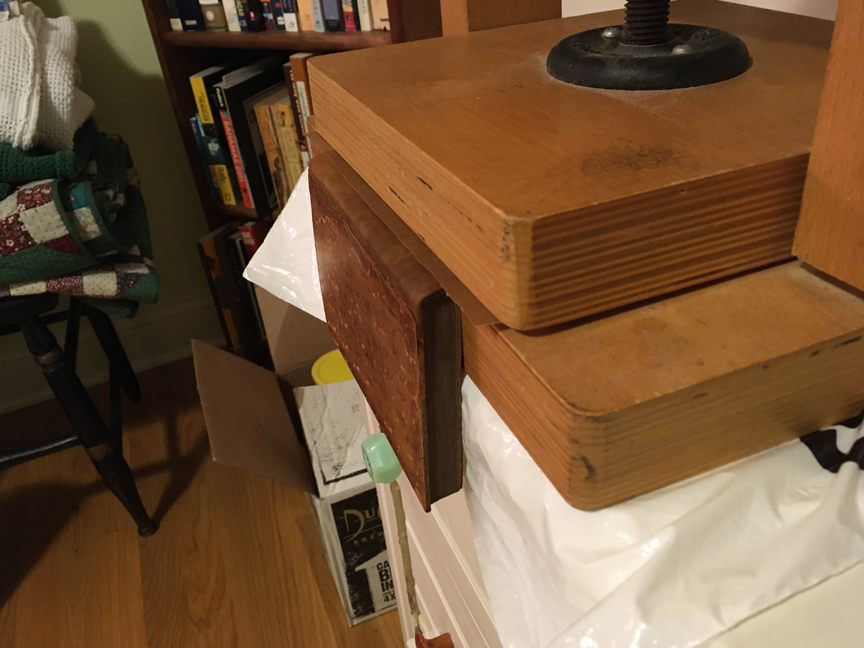
After the new leather spine is nice and dry, the leather that was lifted from the boards is adhered down, and then pressed hard, one board at a time. The new leather compresses because it is soft and malleable, which helps everything come out smooth and flat.
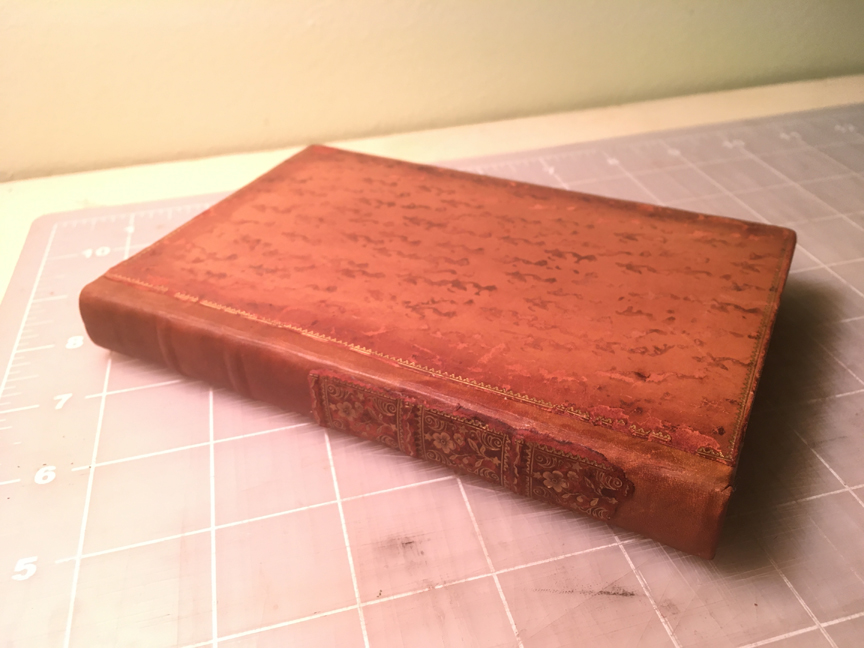
Here the fragment from the original spine has been attached over the new spine, after removing the original hollow tube fragments from the back side.
Once the little book and I are back in the lab, I’ll make a paper label for the title and place it on the spine in the panel below the top band. I hope that will be before I need the snowshoes.
Leave a Reply